Aloha friends!
As you all know from my Mille Feuille post, I joined the SCS Dairy Bakers’ Challenge, with the hope of making it to the 4-star challenge. I didn’t make it in but did have fun baking something every week (as if I needed an excuse to do so!). The 2-star challenge was based on Cookies. Prior to the third round, I think most of us contestants were kinda confused as to how we were being judged for every round. Hence, everyone kept trying to create exotic & special sort of things related to the theme so that we could really wow the judges.

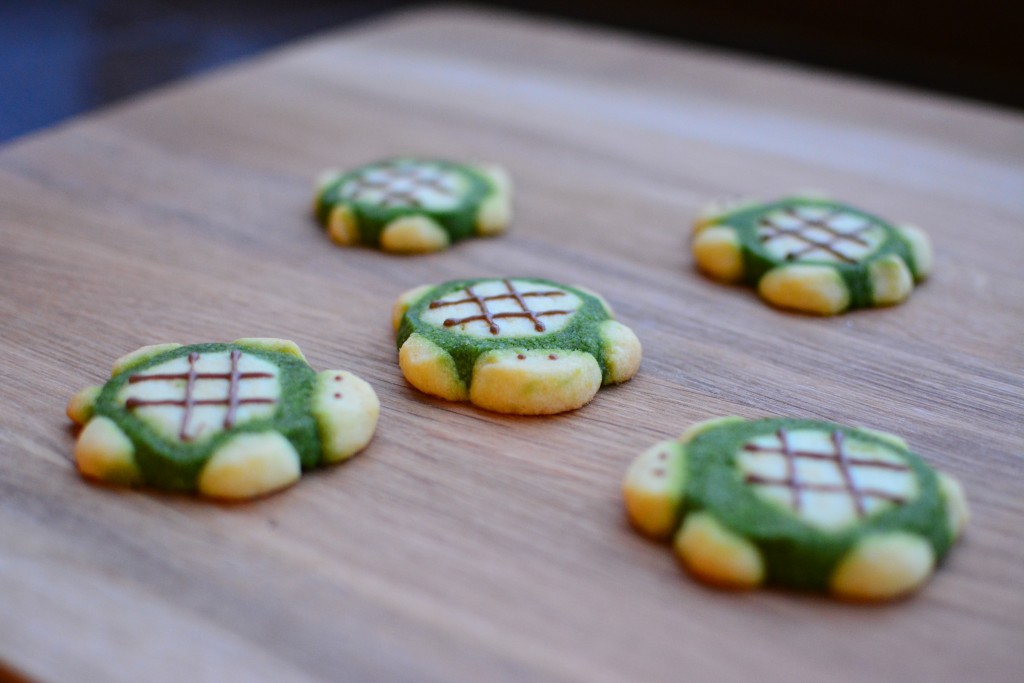
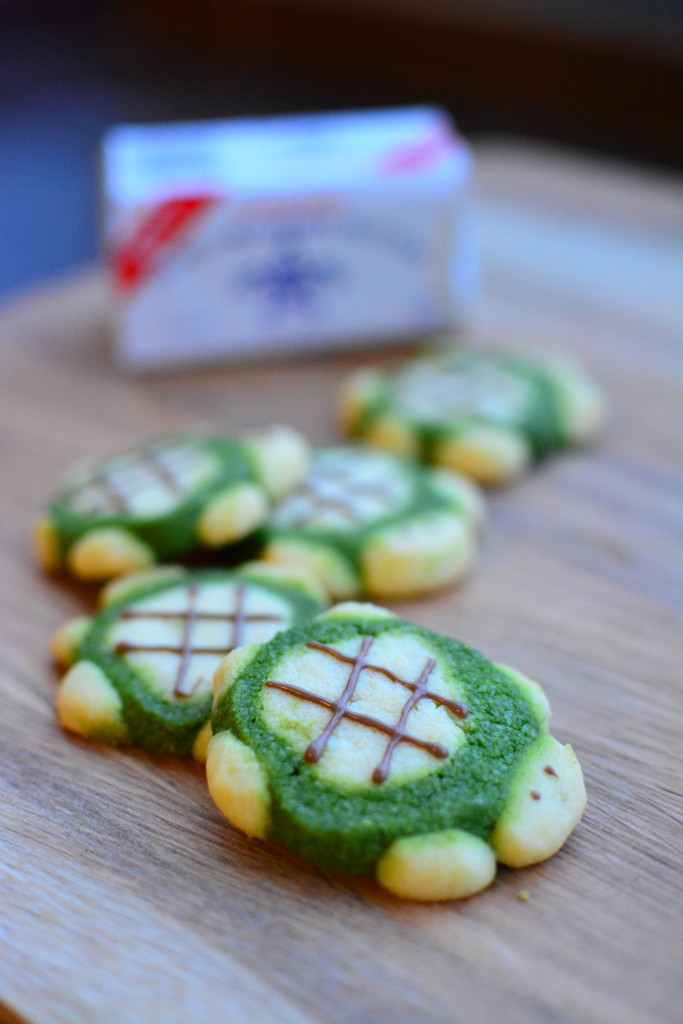
I did a whole bunch of Googling & finally found a sort of cookie that I thought would be very unique & stand out from the rest. Turtle cookies! Mind you, this in no way means that I used Turtle to make these cookies. It just simply means that the cookies took on the cute little shape of turtles! It’s probably something similar to what you see on those designed macarons. Pretty and cute, although they taste no different than any other cookies.
I wish I could take credit for coming up with something so cute and so innovative. Unfortunately, my creative juices weren’t so fluid & I had to just resort to ripping off this idea off Diamonds for Dessesrt. Of course, with the limited time I had on hand, I couldn’t be as meticulous as she was. So for certain steps like using a cookie cutter so that the head & legs are all equal sized, or putting black sprinkles for the eyes, I really just made do with whatever I had on hand and just moulded the cookie in whatever way I liked.
If I’d put in more effort, I guess it’d have turned out a lot nicer. However, as much as I shouldn’t indulge in self-praise, I think these cookies came out really pretty & adorable. I just took some random cadbury chocolate that I had in my fridge to pipe out the design, using a #1 Wilton tip (super fine & thin).
Frankly speaking, I didn’t really like the taste of these cookies. I like my shortbread to be a lot more buttery & this just didn’t satisfy me. I guess it was more suitable for moulding, hence making it an appropriate recipe for this purpose. However, if you’d like to make something more scrumptious, then these cookies aren’t what you’re looking for.
I took about 2 days to do this just because I spent about an hour per night. First night to make the dough and fridge it, and second night to mould the cookies and bake it. Once they were cool, I microwaved my chocolate at 10 second intervals (so that it wouldn’t burn) and then piped it onto the cookies. Technically, you should be letting the chocolate harden and then put it in the fridge. But I was just lazy & stacked em up – yes, my cookies weren’t pretty the next day.
Turtle Icebox Cookies
Makes 48 cookies
Ingredients:
- 3/4 cup + 2 tbsp flour + 2 tbsp matcha powder
- 1 1/2 cups flour
- 16 tbsp (2 sticks) butter, softened
- 3/4 cup sugar
- 1/2 cup powdered sugar
- 2 egg yolks
- 2 tsp vanilla extract.
Directions:
- Cream the butter and the two sugars together.
- Mix in the egg yolks one at a time.
- Mix in the vanilla extract.
- Split dough into three parts
- Add the 3/4 cup + 2 tbsp flour + 2 tbsp matcha powder to one-third of dough & mix thoroughly.
- To the 1 1/2 cups of flour, add in the two-thirds of dough. You’ll have one matcha dough and one plain dough.
- Split the plain dough into half, rolling it to a log, 1 1/4″ (inches) in diameter. Wrap in cling wrap and place in fridge.
- Next, roll out the matcha dough to a rectangle about 1/4″ thick.
- Wrap the matcha dough around the plain dough log.
- Make sure the ends of the matcha dough match and use your fingers to even out the creases.
- Cover the entire log and fridge for at least 15 minutes.
Directions (Part 2):
Preheat oven to 170℃
- Using your remaining bit of untouched plain dough, form the heads, legs and tails of the turtles to a size you deem appropriate.
- Take the log out of the fridge & cut 1/4″ slices.
- Place the head, legs and tail on.
- Bake for 12-15 minutes at 170 ℃ or until edges look very slightly golden
Ingredients:
Directions:
- Melt the chocolate, either in the microwave and short intervals (5-10 seconds) and mixing with your fork or over a bain marie.
- Place in piping bag with extremely fine nozzle and pipe out the design.
I did a lazy method of making these cookies but you can find a way more detailed recipe over here – pictorial included!
So have fun baking – if you have time cos this is pretty tedious! I have to admit, though, that these cookies are super super cute!
Have a great Monday folks!
Love,
Eugenia


