Follow my blog with Bloglovin

Gula Melaka Chiffon Cake

Hi everyone!!!

My goodness – it’s been more than SIX months since I last updated. First things first, huge apologies for the major delay – I was just so overwhelmed this semester (competitions, school, sister’s wedding…) and didn’t have any time to bake at all.

Well it’s December, everyone’s favourite time of the year (well mine at least heh), and I finally managed to dig out some time to whip up something.

DSC_0451

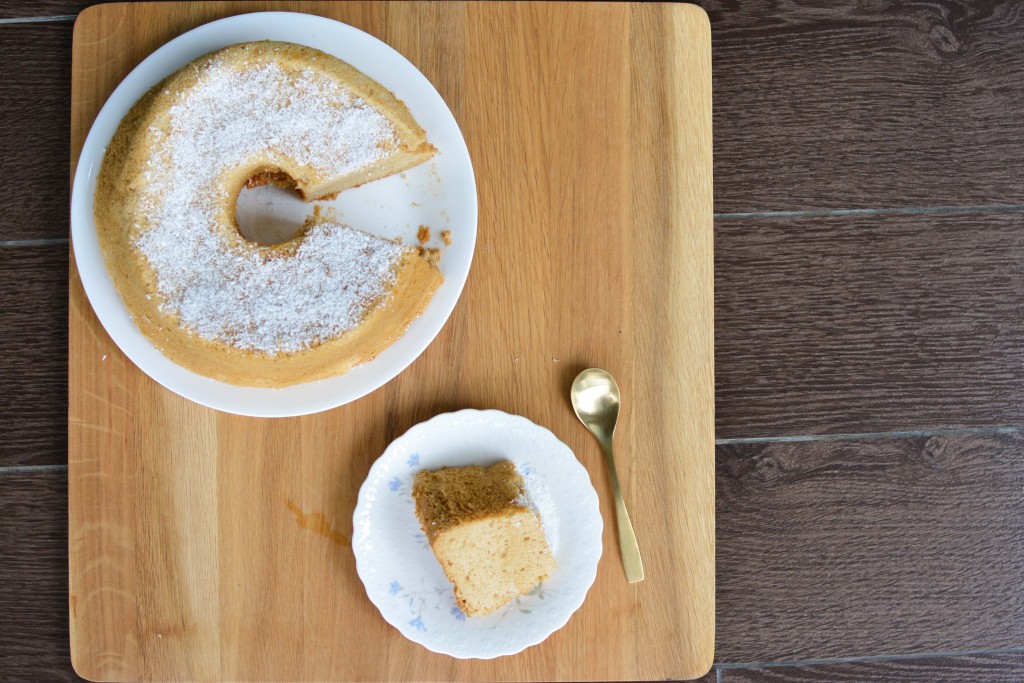
I think I’ve mentioned somewhere before how much I love Gula Melaka. Well, when I saw a friend of mine bake a Gula Melaka chiffon cake a few months back, I just knew I’d have to try one for myself! As usual, my chiffon pan is a little too big for the normal chiffon cake recipe, also resulting in my cake being less sturdy than others I see out there. It’s also possibly because I don’t like to leave the cake in the oven for too long for fear of drying out the cake – I really like the cake moist heh.

I Googled a couple of recipes & found that they were all pretty much the same. They all used gula melaka, coconut milk & the usual chiffon cake ingredients. Since this was the first time I was trying it, I decided to just go with what the original recipe stated, leaving modifications for later, should I deem necessary.

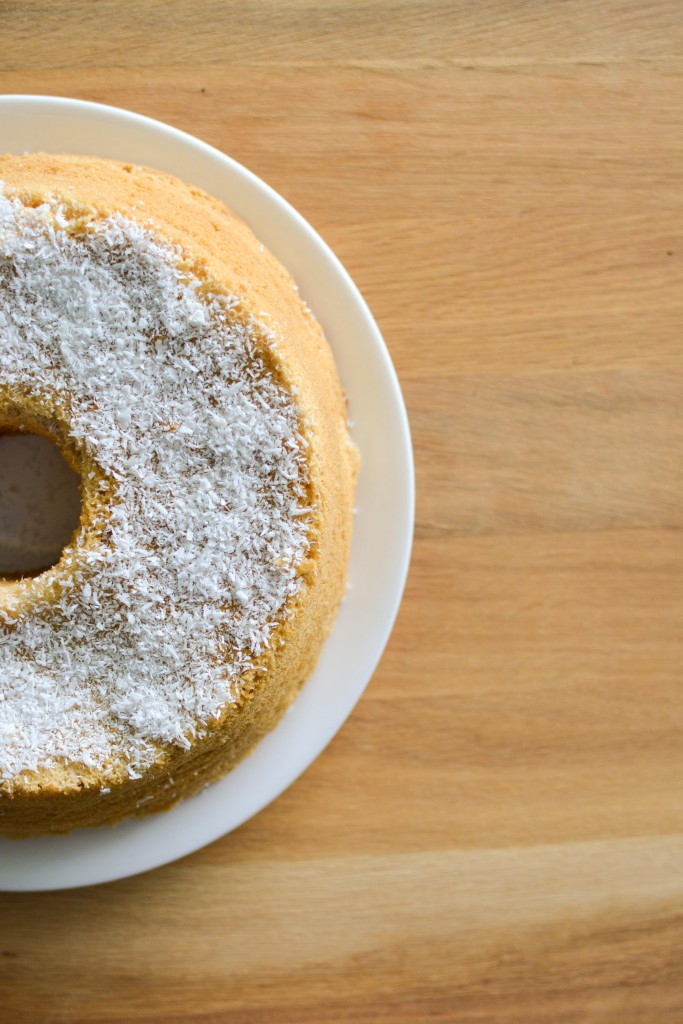
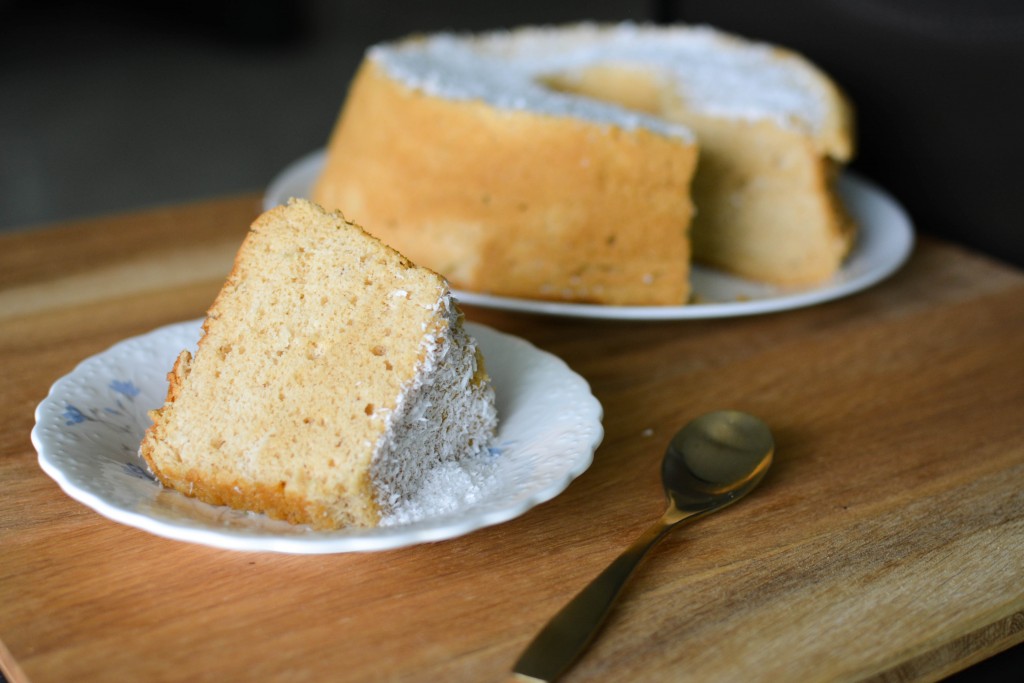
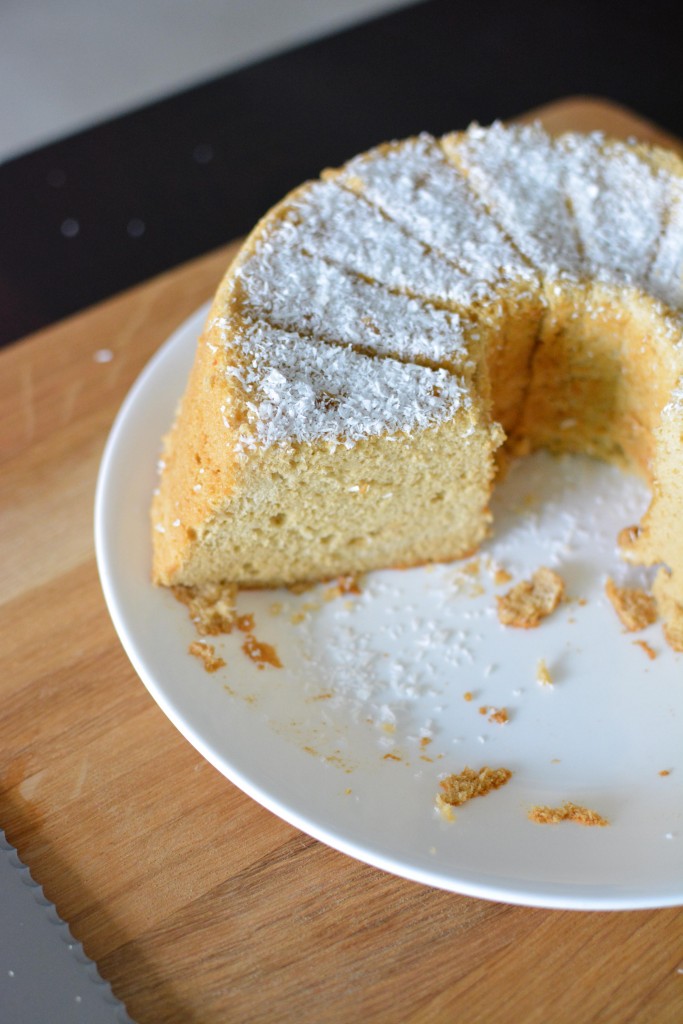
The gula melaka chiffon cake turned out really awesome! It was moist, the gula melaka fragrance was there (also in large part due to the quality of the gula) and the cake was light & airy enough. I was extremely pleased with the result & so were the rest of my family members.

DSC_0455

I sprinkled some desiccated coconut on top just for aesthetic purposes, although my mom indicated she did not like the extra crunch. So it’s really up to you whether you want to add it, or make a gula melaka sauce to drizzle on top. I personally find that it’s sweet enough & that’s not necessary.

In any case, the recipe is below, should you find some time to try it as well!

P.S. This is the first time I’m baking + editing the photos + writing the post all in the same day haha. That’s how excited I am after the super long hiatus.

DSC_0460

Gula Melaka Chiffon Cake
Adapted from Baking Tai Tai

8-inch chiffon pan (I used a 10-inch cos that’s all I have)

Ingredients:

A:

  • 6 egg yolks
  • 150g gula melaka (I chopped it up finely)
  • 100ml coconut milk (I used fresh coconut milk, although most recipes use those from supermarket)
  • 38g vegetable oil (I used sunflower oil)
  • 140g plain flour
  • 1/4 tsp baking powder
  • 1/4 tsp salt

B:

  • 6 egg whites
  • 30g caster sugar
  • 1/4 tsp cream of tartar

Directions:

Preheat oven to 160 degrees C.

A:

  1. Heat gula melaka and coconut milk in a saucepan on low heat, stirring gently, until everything the gula is melted
  2. In a separate bowl, sift the flour, baking powder & salt
  3. Place 6 yolks in a medium-large mixing bowl and use a hand whisk (the manual kind) to whisk until yolks are light (just gently)
  4. Add oil to yolks and mix until combined
  5. Add gula + coconut milk mixture into the yolk mixture
  6. Add flour in batches to yolk mixture until well combined
  7. Set aside

B:

  1. Place egg whites in a mixing bowl and whip until foamy
  2. Add cream of tartar and continue to whisk until soft peaks
  3. Gently pour caster sugar in and whisk till stiff peaks

Putting it together:

  1. Using a hand whisk, fold the egg white mixture (B) into yolk mixture (A), in 3 batches
  2. Ensure everything is well incorporated but do not mix too much (do not want to deflate it cos it’s a chiffon cake) and put into chiffon cake tin
  3. Bake for 45-55 minutes
  4. Remove from oven when skewer comes out clean & invert to cool

Well that’s all! I don’t think I’ll make any major changes to the cake in the future, but if I do, I’ll be sure to update it on this space! Hope you guys enjoy this gula melaka chiffon cake as much my family & I do!

DSC_0464

Thanks for reading folks 🙂

Love,

Eugenia

More

Pink Guava Macarons

Oh my goodness!

It has been officially almost 5 months since I last updated. So so so sorry about that 🙁

The past semester has been busy. And unfortunately, I hardly even had time to bake. If you follow my Instagram, you’d know that I baked a strawberry shortcake & a cheesecake but apart from those two, I haven’t really baked anything, lest update my blog.

I’ve since started my Summer internship (four days after my final exams ended :<) and the office is celebrating World Baking Day, which is today! The theme was cakes but I just miss baking macarons so much that I had to do something macaron related.

DSC_0762

Sometimes at night, I think about macarons and what sort of flavours I could curate. There are just infinite possibilities. But I decided to be practical about it and use whatever I already have in my fridge, rather than go around and end up having even more ingredients that will end up expiring on the shelf (it ALWAYS happens). So last year, I bought this Pink Guava Puree and made it into a ganache for my Lemon & Pink Guava Macarons. Mind you, this Puree is like some 2-litre thing. I honestly have no idea how I’m going to finish it before it expires at the end of the year. You can probably expect tons more pink guava desserts from here hahaha.

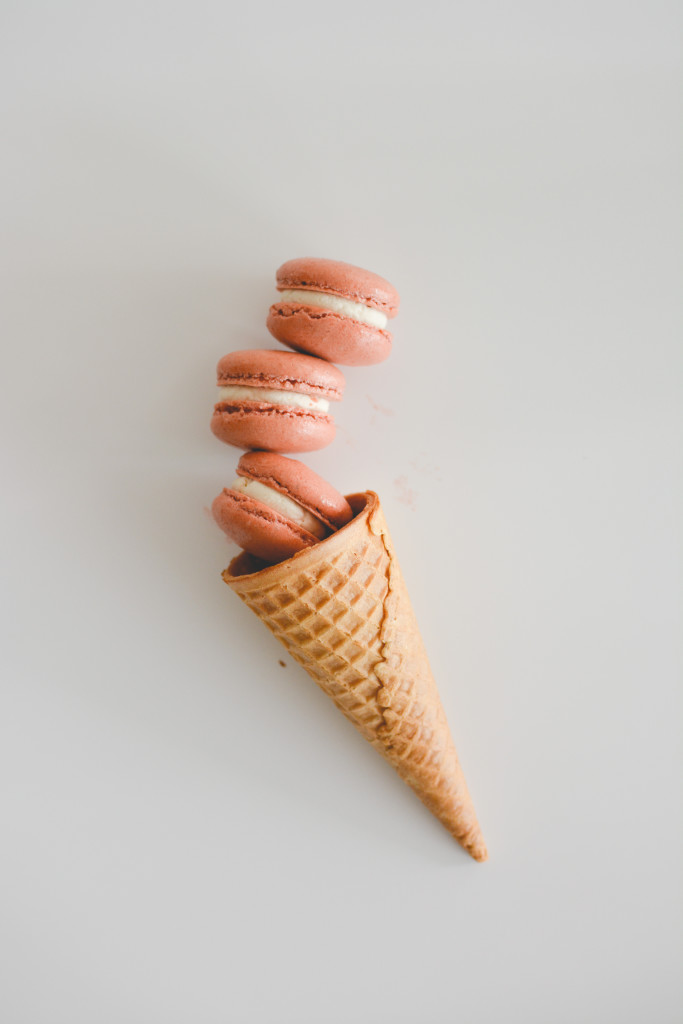
What I did was take my usual recipe of macaron shells, paired it with my favourite Swiss Meringue Buttercream, but then reduced Pink Guava Puree with Brandy (just for a little fragrance) and then added it in to make Pink Guava Macarons.

I used quite a bit for a small batch of macarons to make the flavour more pronounced, but it still wasn’t too strong, and perhaps not as obvious as I’d like it. But since Guava is a rather subjective flavour, I figured it was best to keep it more subtle than to overwhelm everyone.

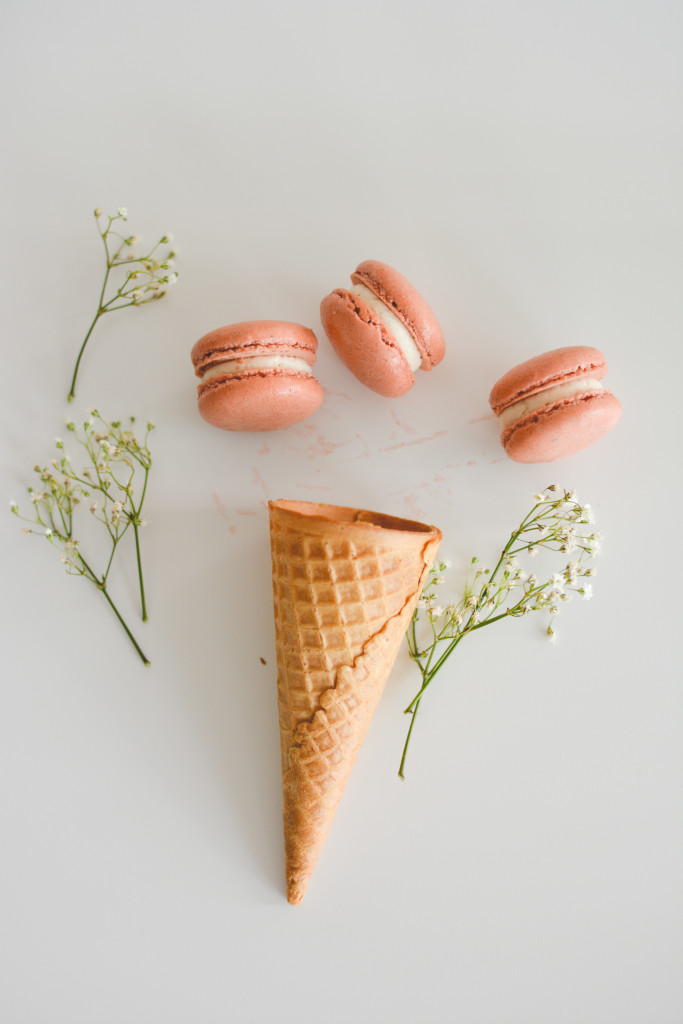
DSC_0766-2

Some baby’s breaths from my Anniversary bouquet hehe

Do try it for yourself and let me know what you’re baking this World Baking Day!

Pink Guava Macarons

Macaron shells
Makes 100 shells
Preheat oven to 160 degrees with fan

Ingredients

A:

  • 300g powdered sugar / icing sugar
  • 300g almond meal/almond flour
  • 110g egg whites

B:

  • 75g water
  • 300g granulated sugar
  • 110 egg whites

Directions:

  1. Sift powdered sugar & almond meal together. Put egg whites over and leave aside
  2. Boil water and sugar until it reaches 115 degrees celcius. Begin whipping the egg whites till they reach soft peaks
  3. When the sugar syrup reaches 118 degrees celcius, pour it into the egg whites to create an Italian Meringue
  4. Keep whipping until your meringue has stiff peaks (see Meringue tips)
  5. Fold the meringue into the almond mixture A
  6. The batter should be ribbony and when a pattern is created, the pattern in the batter should disappear only after 15 seconds
  7. Pipe out the macaron shells around 3-cm in diameter, spaced out from each other
  8. Put into oven for 8-10 minutes or until the shells are ‘fixed’ or ‘attached’ to the baking parchment. This will mean that the parchment will shift about when you hold on to one shell. The shell should not detach from the rest of the shell (if you’ve made macarons before you should know what I mean)
  9. Take it out to cool & remove from parchment sheet

Pink Guava Buttercream (SMBC)

Ingredients:

  • 100 g sugar
  • 2 extra large egg whites
  • 150 g butter, at room temperature
  • 100g pink guava puree
  • 1 bottle cap of brandy

Directions:

  1. Take pink guava puree and 1 cap of brandy and place in saucepan, reducing over low heat.
  2. The resulting mixture should be thickened but not burnt. Leave to cool.
  3. Place sugar and egg whites in a large heatproof bowl. Put the bowl over a saucepan of simmering water and whisk continuously until the sugar is dissolved. The mixture should be thick and sticky.
  4. Place the egg white mixture into an electric mixing bowl. Using whip attachment, whip the egg white on medium-high speed until it reaches a stiff peak and is glossy. The meringue should be cool at this point.
  5. Change to paddle attachment (of electric mixer) and continue beating meringue at medium-high speed . While the motor is running, add small chunks of room temperature butter one at a time. Continue adding all the butter and keep beating until the butter is blended in and the buttercream is smooth, very smooth.
  6. Add cooled pink guava puree that has been reduced, to taste.

Assembly:

  1. Match up your macaron shells
  2. Pipe pink guava buttercream
  3. Cap with the matching macaron shell
  4. Refrigerate & serve to eat the next day

Hope you enjoy this recipe 🙂

Love,

Eugenia

More

Chia Seed Chocolate Ice-Cream

Hey guys!

I promised a post update so here I am – back with one!

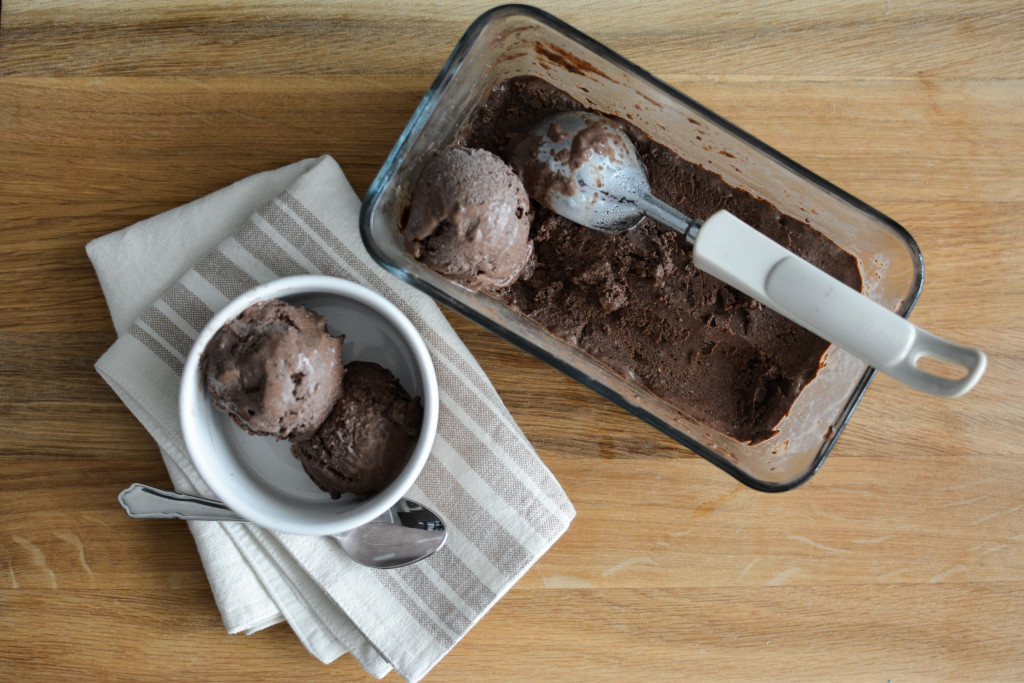
DSC_1628

Over the winter break, my family took a trip to Chile, South America. After 34-ish hours of flying, we arrived in Puerto Montt, only to find that we had no luggages whatsoever. We found out two days later that they had been left in Paris (transit) and only received everything after three days. Anyway it’s a long and dreadful story so I shan’t dwell on it here. So during our trip, we made several trips to the Supermercado (supermarket) & on one of them, I stumbled upon chia seeds in the organic section. Over in Singapore, chia seeds are pretty expensive. And because no one in my family has ever caught on the chia seed craze, none of us have ever tried it.

DSC_1643

The chia seeds here were significantly cheaper, due to the fact that they are grown in South America. The bag I got was from Bolivia. We had chia seeds in our breakfast (because all the breakfasts came with yogurt & they match pretty well) and because we grew to like the crunch, we decided to buy some back.

Ever since getting back, we haven’t really had yogurt for breakfast. Oopsie. So the chia seeds have just been sitting on the kitchen counter, not being eaten. Then I recalled that several months back, I saw a post on Top with Cinnamon where she talked about her skepticism of the benefits of chia seeds. She had a bag as well and decided to make it yummy by changing it into ice-cream.

I thought this was really smart – taking the sticky texture of the chia when it bloats and turning it into custard. Took her chia seed ice cream recipe, made several modifications & then finally got the end result – a healthy egg-free ice-cream! (I’m positive that the calories are WAY lower and cos chia has all these benefits – fiber, omega-3 etc etc)

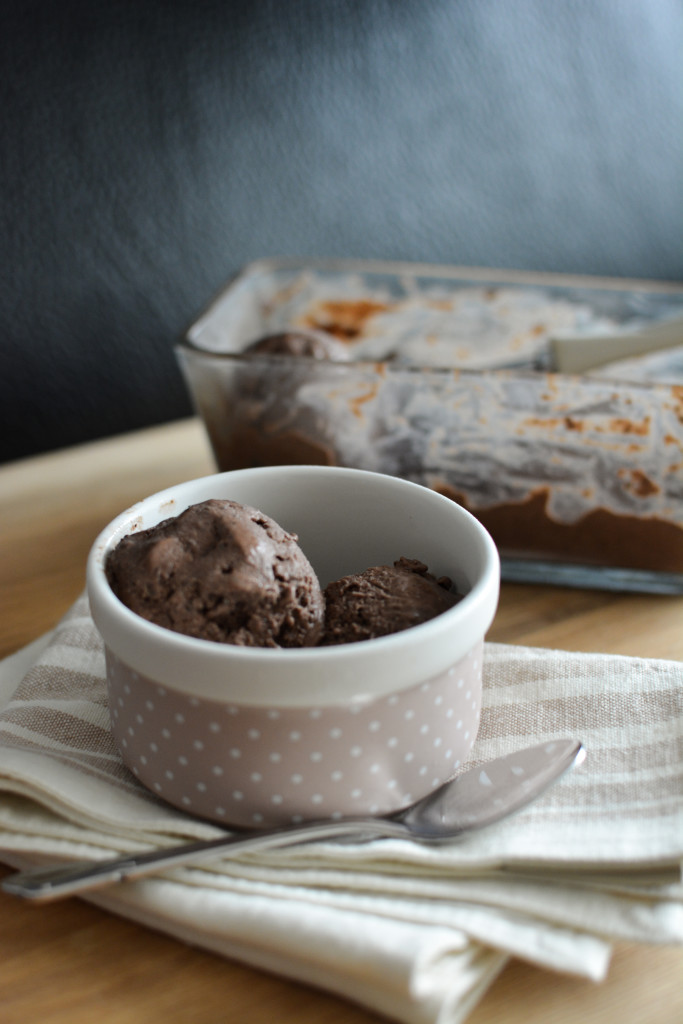
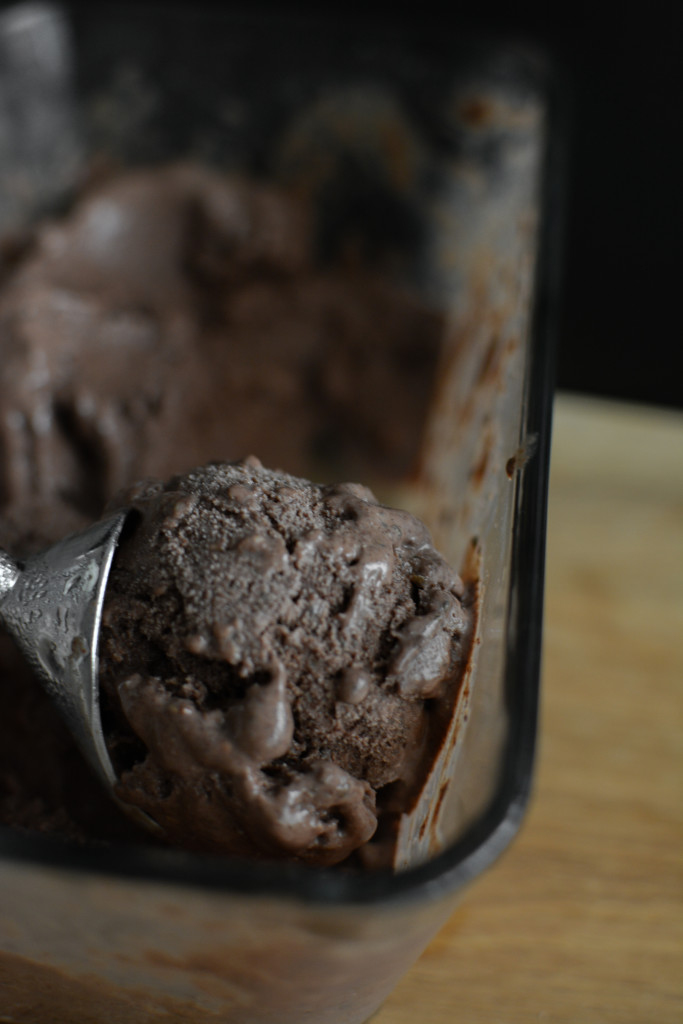
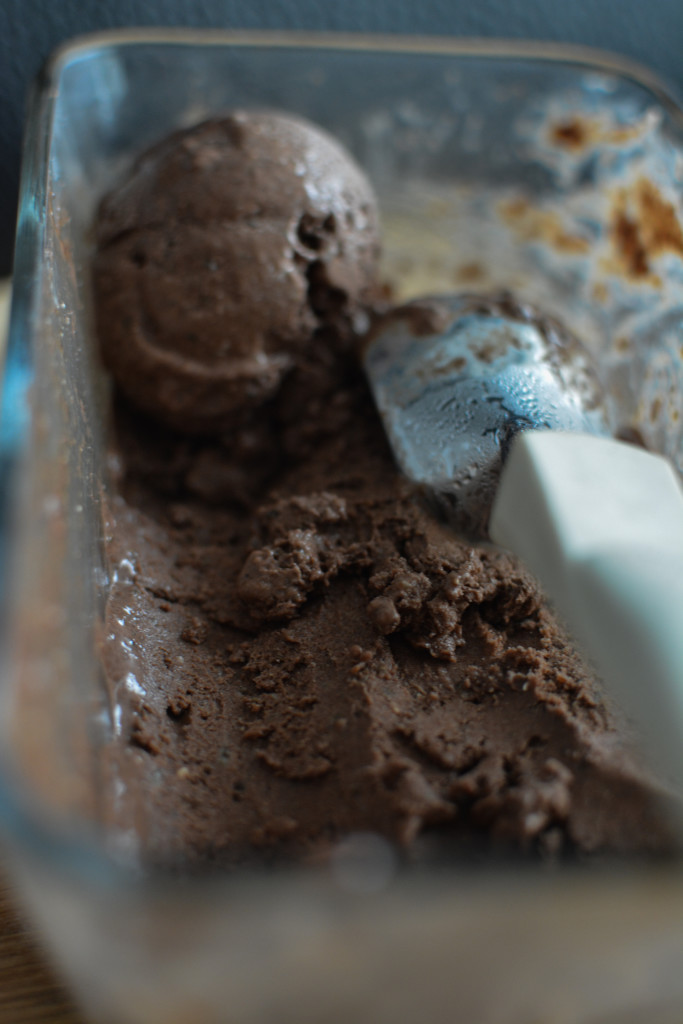
So with that, I managed to get this decadent chocolate chia seed ice-cream. Pretty ‘wow’ right? It was also very suitable for my dad who’s mildly diabetic because of the low sugar content. Hoorayyy for chocolate chia seed ice-cream 😀

DSC_1632

Seems too good to be true eh? A healthy treat with the taste to boot! Scroll down for the chia seed ice cream recipe!

Chocolate Chia Seed Ice-Cream
Inspired by Top with Cinnamon

Ingredients:

  • 1/4 cup chia seeds
  • 1 2/3 cup milk (I used full cream)
  • 2 tbsp honey
  • 2 oz unsweetened chocolate, melted
  • 1 tsp vanilla extract

Directions:

  1. Put the chia seeds, milk, honey, chocolate and vanilla extract in a bowl and mix until well combined. Make sure the milk isn’t too cold or it’ll solidify the melted chocolate.
  2. Place in the fridge for at least 4 hours (to form the custard).
  3. Once set, take custard and put in a blender until fine. I read that you can place it through a wire mesh to get rid of all the bits but I thought it’d be good to keep all the nutrients!
  4. Place in ice-cream machine and churn according to machine’s instructions.
  5. Enjoy 🙂

DSC_1635

Have a blast trying out this recipe!!!

Love,

Eugenia

P.S. HAPPY 2015!!!!

More