Follow my blog with Bloglovin

Category: Cakes

Lesson 8: Dome aux Marrons

Salut!

So after an amazing weekend in London chomping down all that Asian goodness for Lunar New Year, I was back in school, ever ready for an awesome week ahead.

I’d seen the cake that we’d be making this week (Dome aux Marrons –> Chesnut Dome) on Instagram (via the LCB location tag) before and was super excited to work on it. The aesthetic of the cake, in my opinion, is simply amazing. It also reminds me of the Esplanade back home in Singapore – kinda like a durian haha.

I really enjoyed the demo, with Chef Verger showing us how to use the spray gun for the first time ever! I’ve always been very intrigued by this effect that’s commonly used by pastry shops so knowing that I was going to be repeating it in practical was very exciting for me.

Unfortunately, I didn’t take too well to the taste of the chesnut (the cake is three layers of halzenut dacquoise, chesnut mousse and piped all round with chesnut cream). Although I’m a fan of freshly roasted chesnuts, these canned/candied ones were too sweet for my liking (probably the same reason why I’m not a fan of mont blanc).

Practical was awesome – we got Chef Park again 😀 Class is always very organised and calm under her watch. As usual, Jianhua and I split up the recipe and got cracking. Really enjoy working with her! The best partner I could ever ask for :*

Ended up with what I think I can call a pretty decent chesnut dome 🙂 Excited to try this again when I’m back home, albeit in another flavour (will also have to buy myself a spray gun hehe).

The next few posts are just going to be about chocolate and more chocolate so I’m thinking of lumping them all together. But we’ll see, I’m getting slower and lazier in my post updates haha :p

xx,
Eugenia

More

Lesson 2: Mille Feuille

DSCF5942

Hi everyone~

So class started this week on Tuesday, meaning that I had a long weekend to run more errands (lots and lots of grocery shopping) and settle in. It was really chilly the whole weekend + week thanks to the drizzling and wind 🙁

For the second demonstration, the chef showed us the mille feuille & the tarte aux fruit rouges. I really liked this demo cause of the lovely colours of the desserts (lots of red!). In our first practical (and in chef’s first demo), we had to save about 250g of inverted puff pastry to be used for our mille feuille in the second practical. I like how there was this nice transition from the first to the second class.

For every class, we have 4 people that are assigned to be team leaders. This was my week to be assigned & I was kinda nervous about it cos being a team leader means getting stuff for people (and I felt like I was going to be a burden since I’m still not the most familiar with the kitchen). Thankfully, the other 3 were super efficient & could guide me on what to do.

We got Chef Soyoun for this practical. She’s super impressive, speaking Korean, French & English all fluently (she might speak even more but these are the 3 she uses in class). This was my first time in a practical with her given that she wasn’t in the Paris campus back in 2013, but I must say that I really liked the practical with her 🙂

Overall, I was extremely pleased with how my Mille Feuille turned out – dry butter & good weather works wonders! The lighting on the day of practical was also favourable for me to take some good pictures heh. Had dinner with Julie & Isabelle (exchange friends) that night and brought Mille Feuille along. Glad that the cake didn’t go to waste & that I got a stamp of approval from two Parisians 😀

DSCF5937

Really enjoying the Intermediate syllabus so far & very happy bout meeting new people.

Till the next post!

xx,
Eugenia

P.S. Pardon the slightly weird focus of my photos – still getting used to my new camera (Fujifilm XT-10, with 27mm pancake lens)

More

Gula Melaka Chiffon Cake

Hi everyone!!!

My goodness – it’s been more than SIX months since I last updated. First things first, huge apologies for the major delay – I was just so overwhelmed this semester (competitions, school, sister’s wedding…) and didn’t have any time to bake at all.

Well it’s December, everyone’s favourite time of the year (well mine at least heh), and I finally managed to dig out some time to whip up something.

DSC_0451

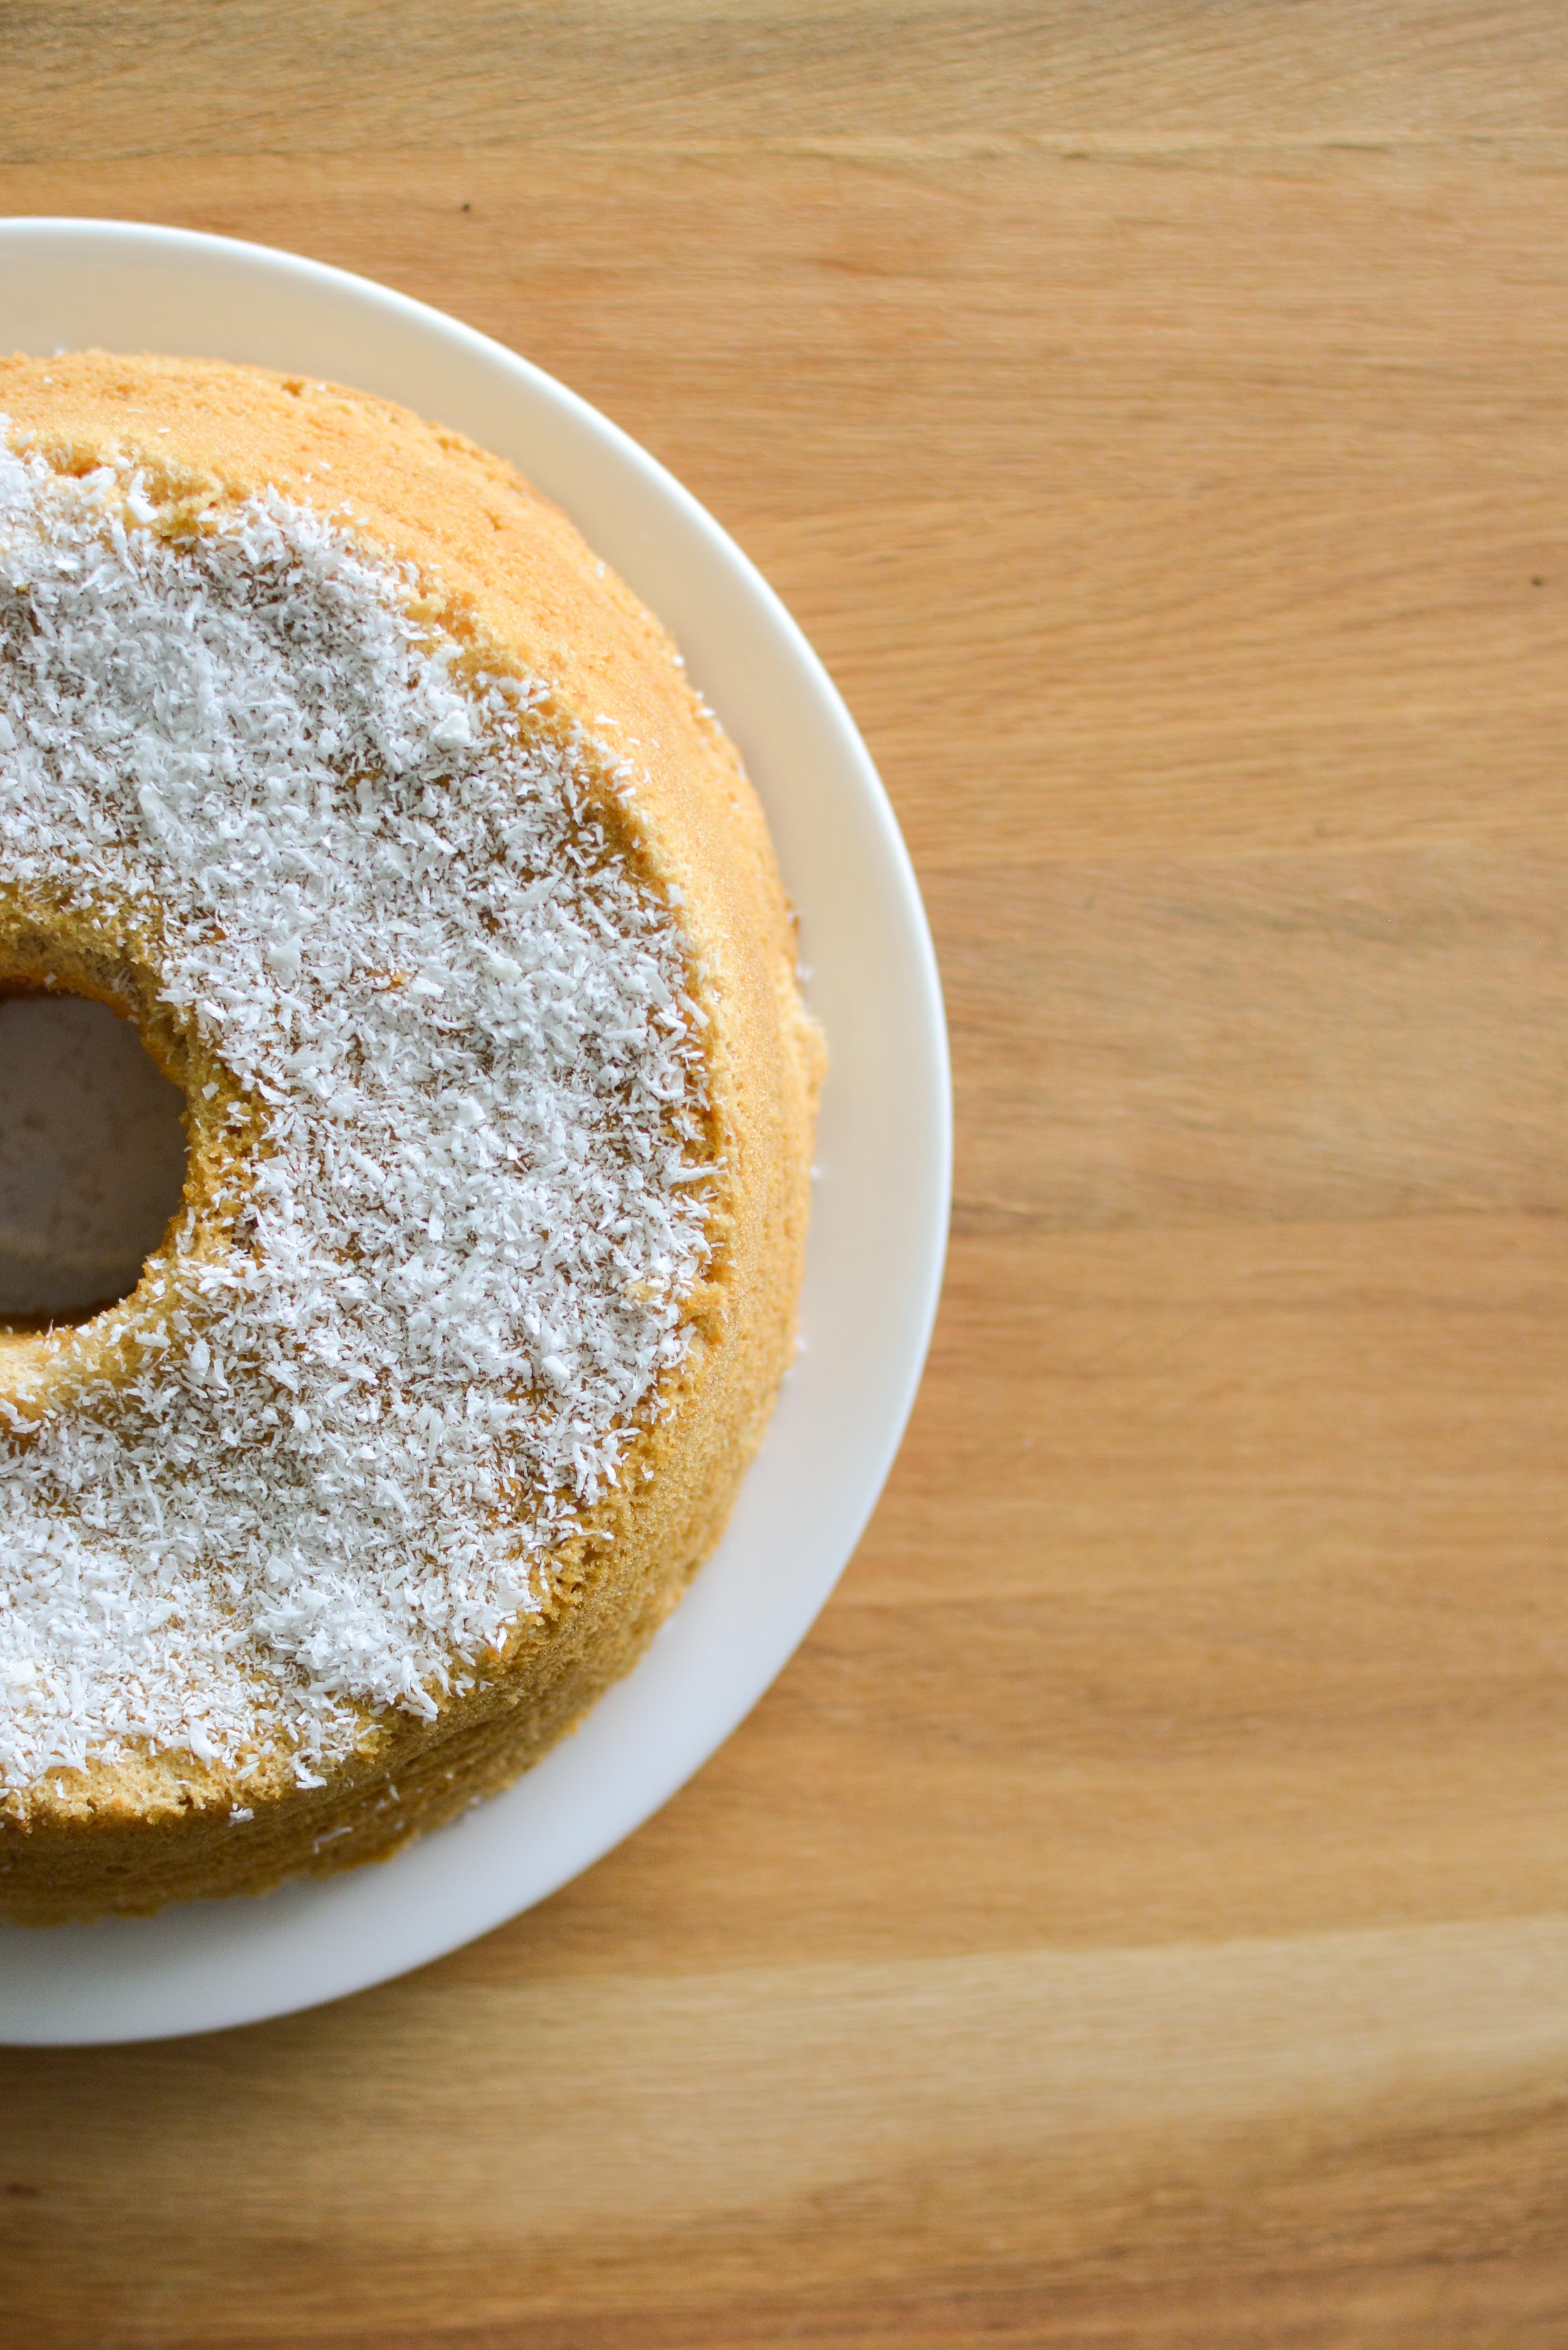
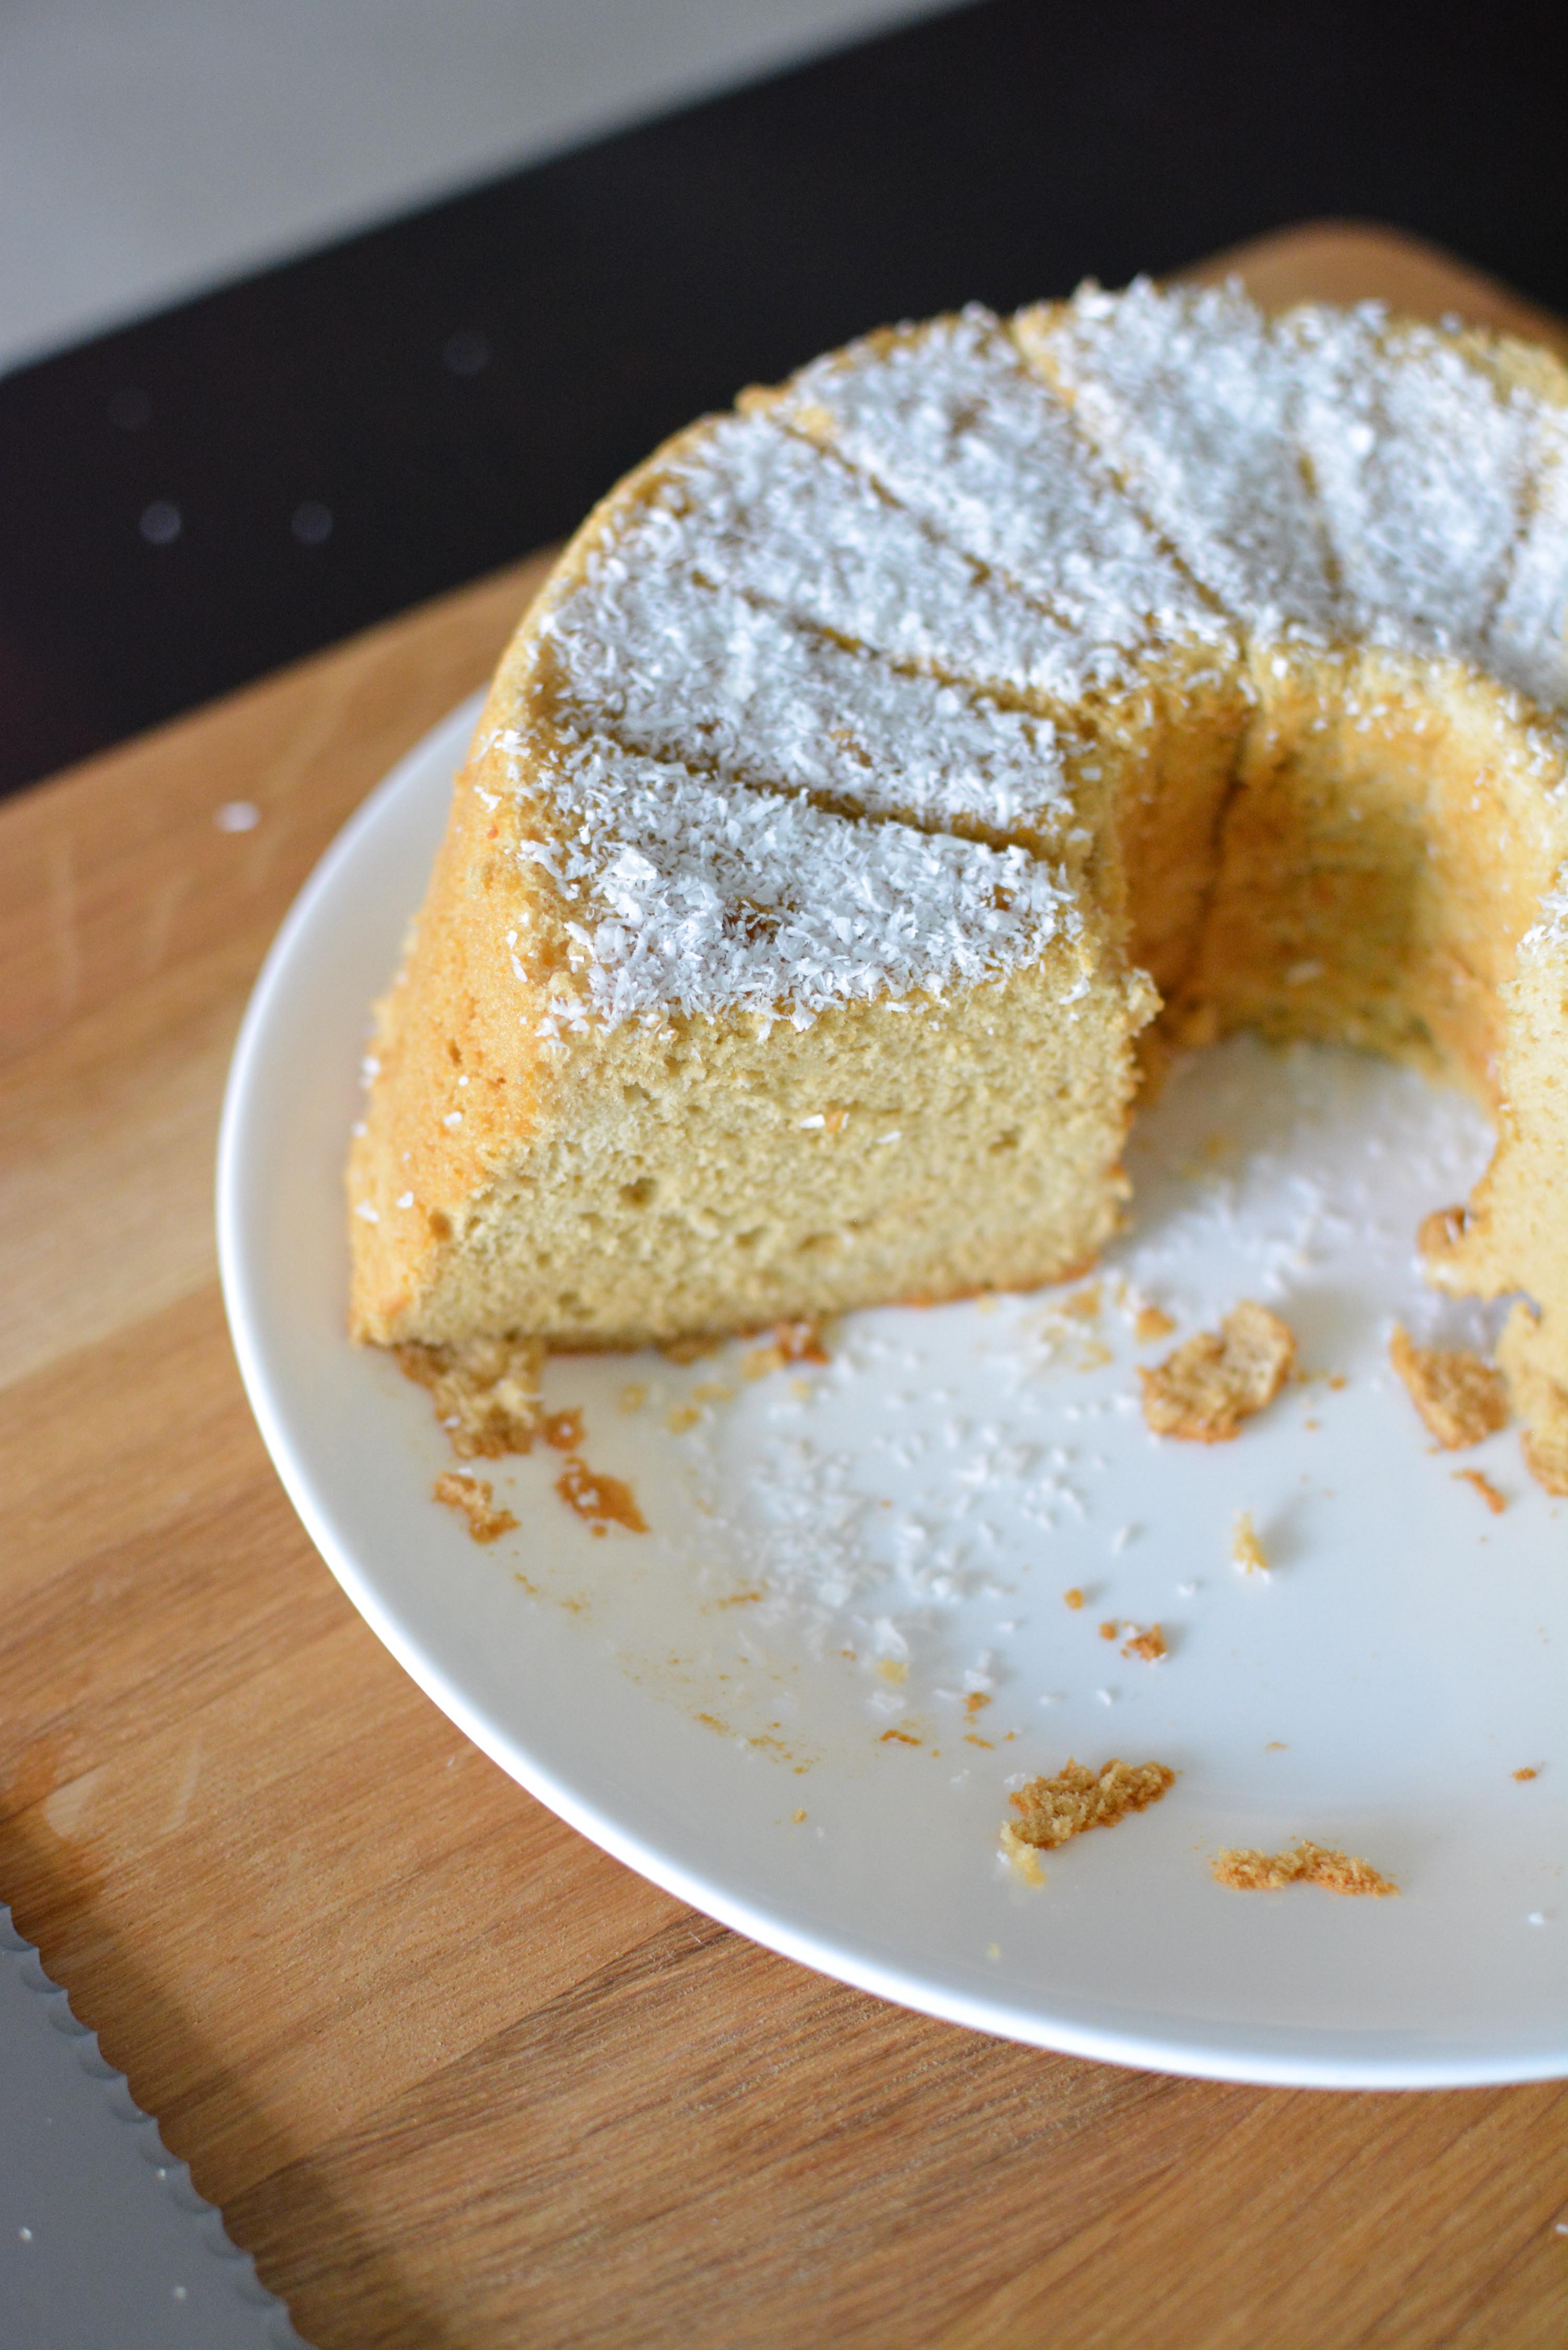
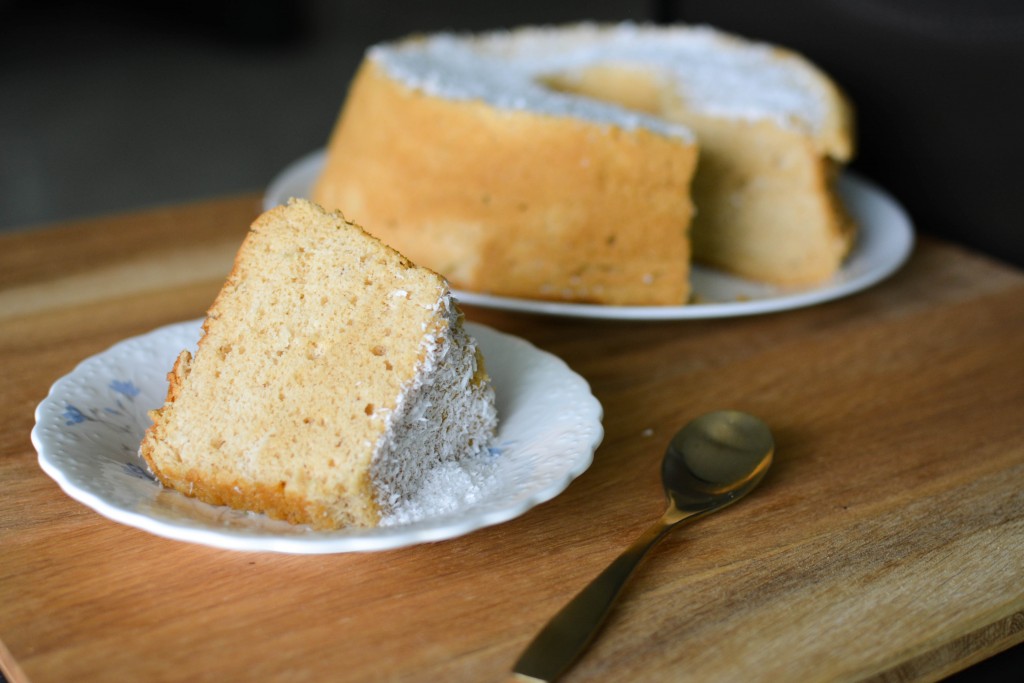
I think I’ve mentioned somewhere before how much I love Gula Melaka. Well, when I saw a friend of mine bake a Gula Melaka chiffon cake a few months back, I just knew I’d have to try one for myself! As usual, my chiffon pan is a little too big for the normal chiffon cake recipe, also resulting in my cake being less sturdy than others I see out there. It’s also possibly because I don’t like to leave the cake in the oven for too long for fear of drying out the cake – I really like the cake moist heh.

I Googled a couple of recipes & found that they were all pretty much the same. They all used gula melaka, coconut milk & the usual chiffon cake ingredients. Since this was the first time I was trying it, I decided to just go with what the original recipe stated, leaving modifications for later, should I deem necessary.

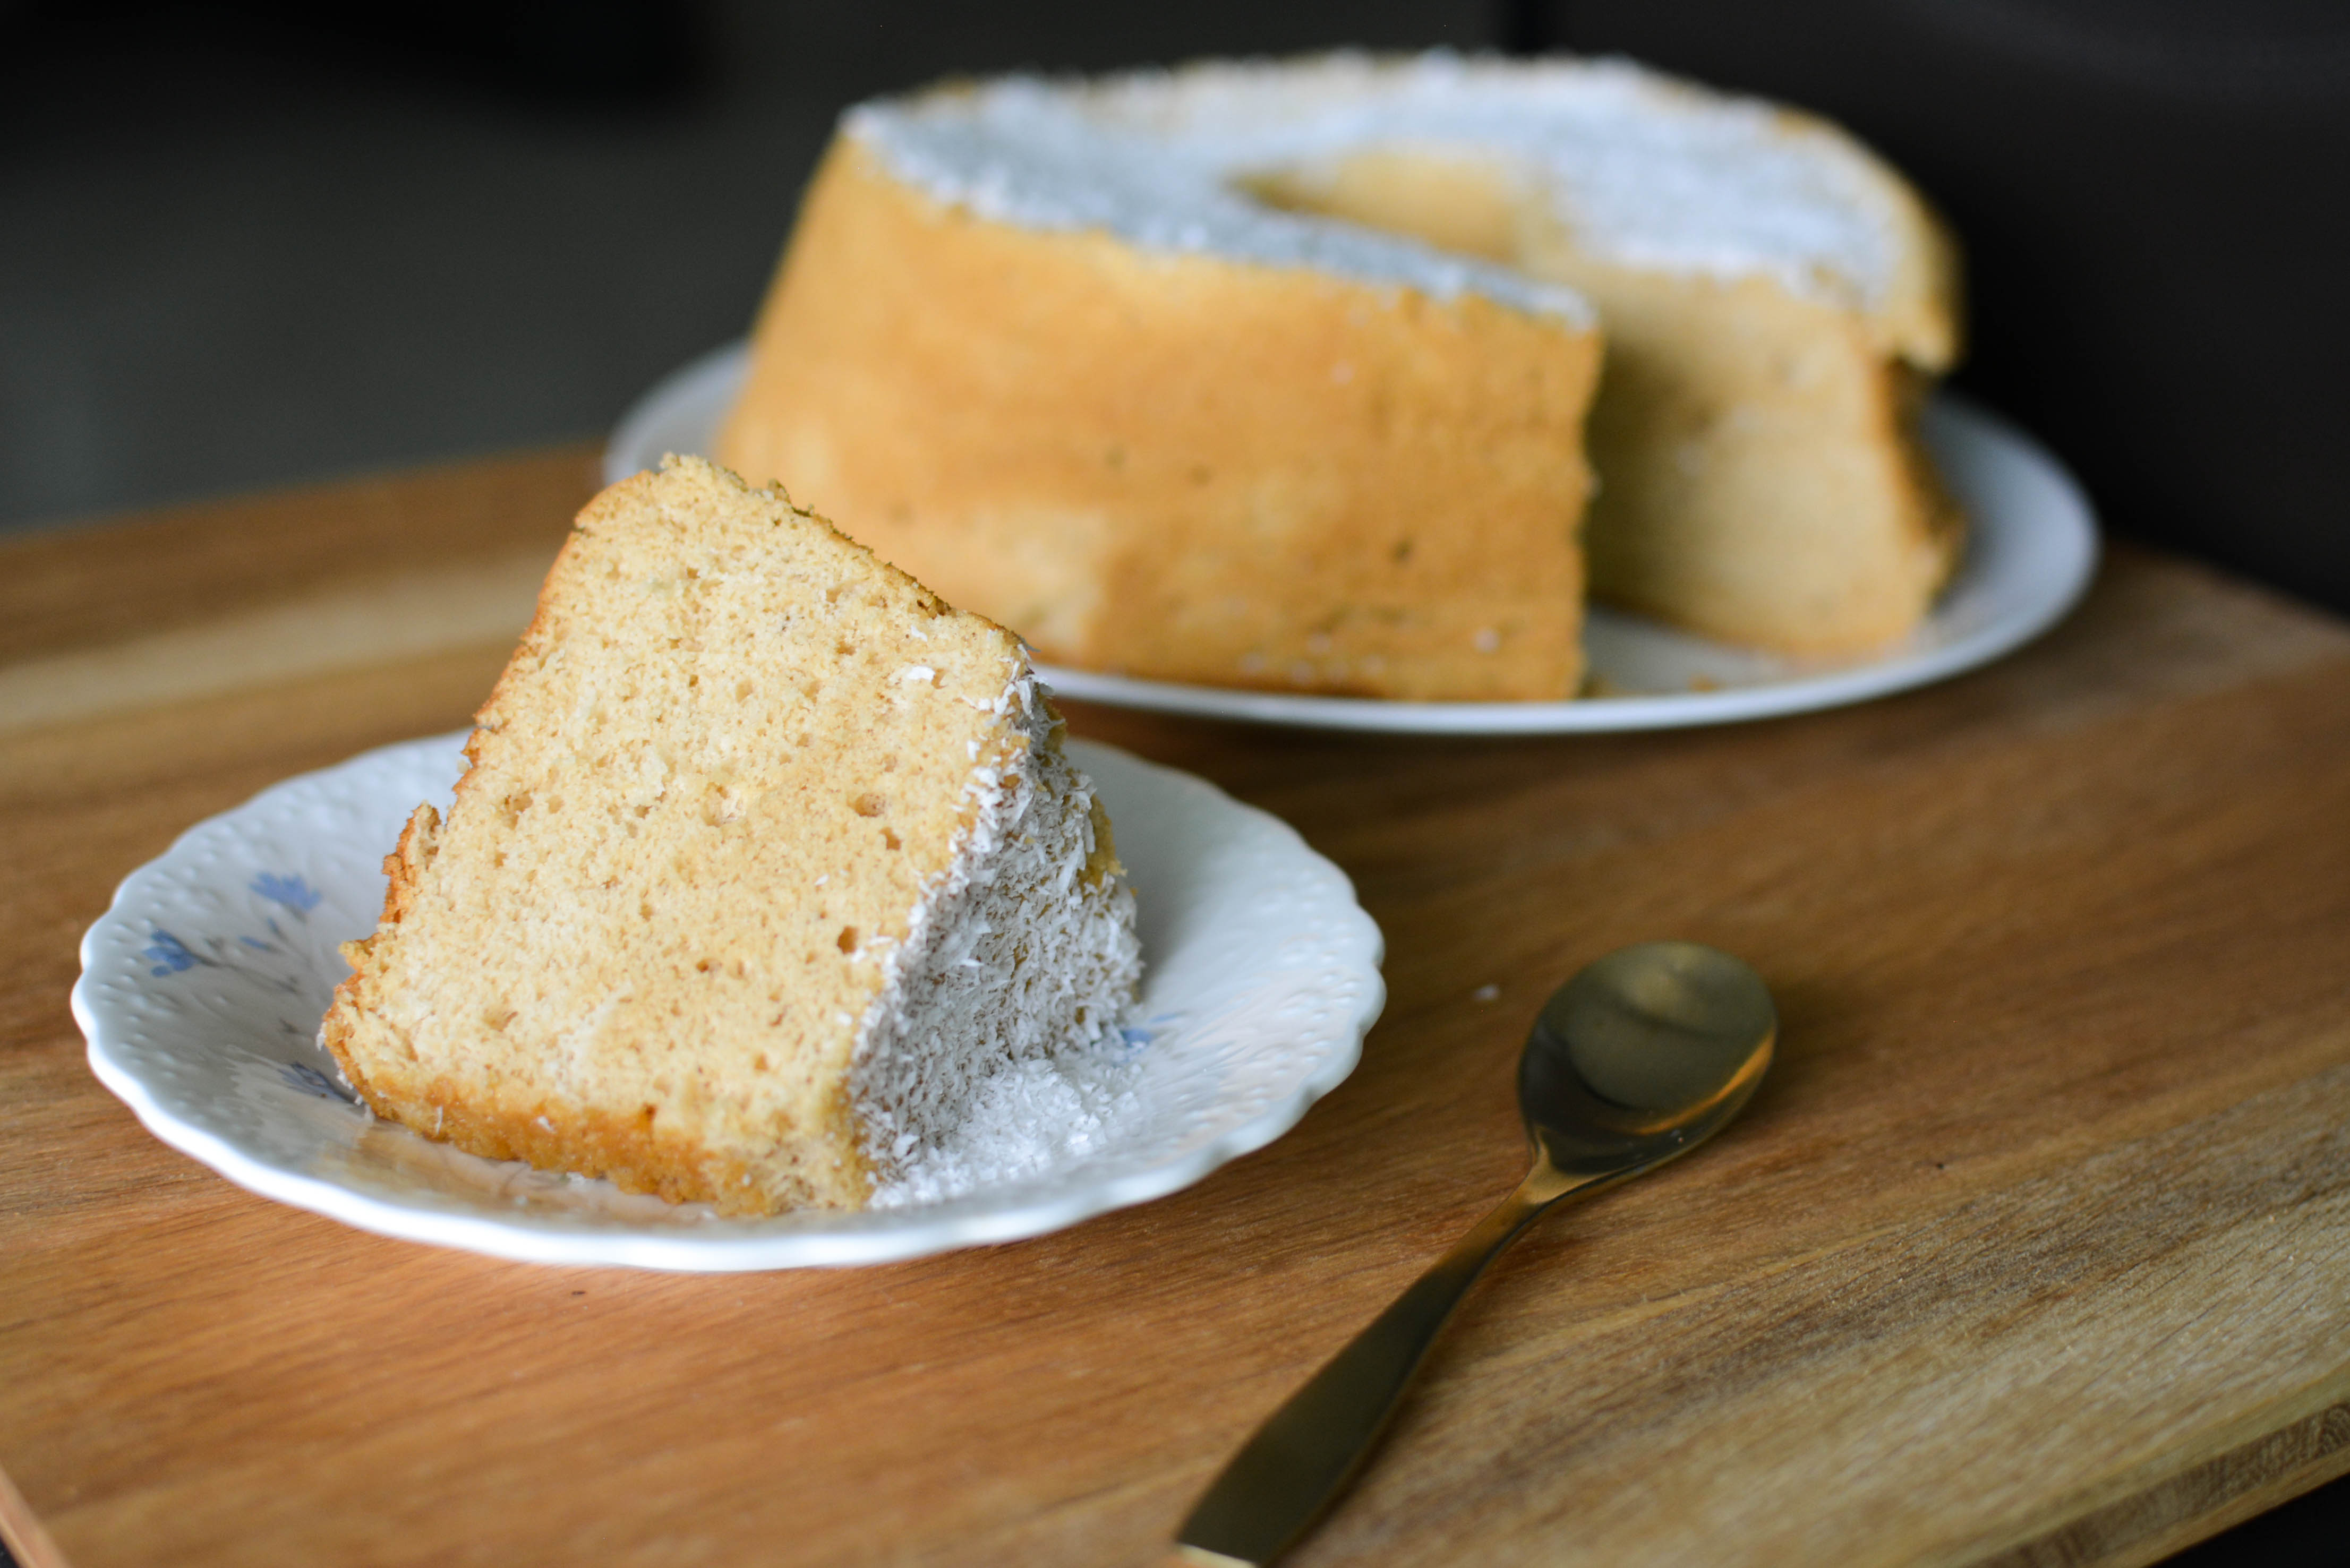
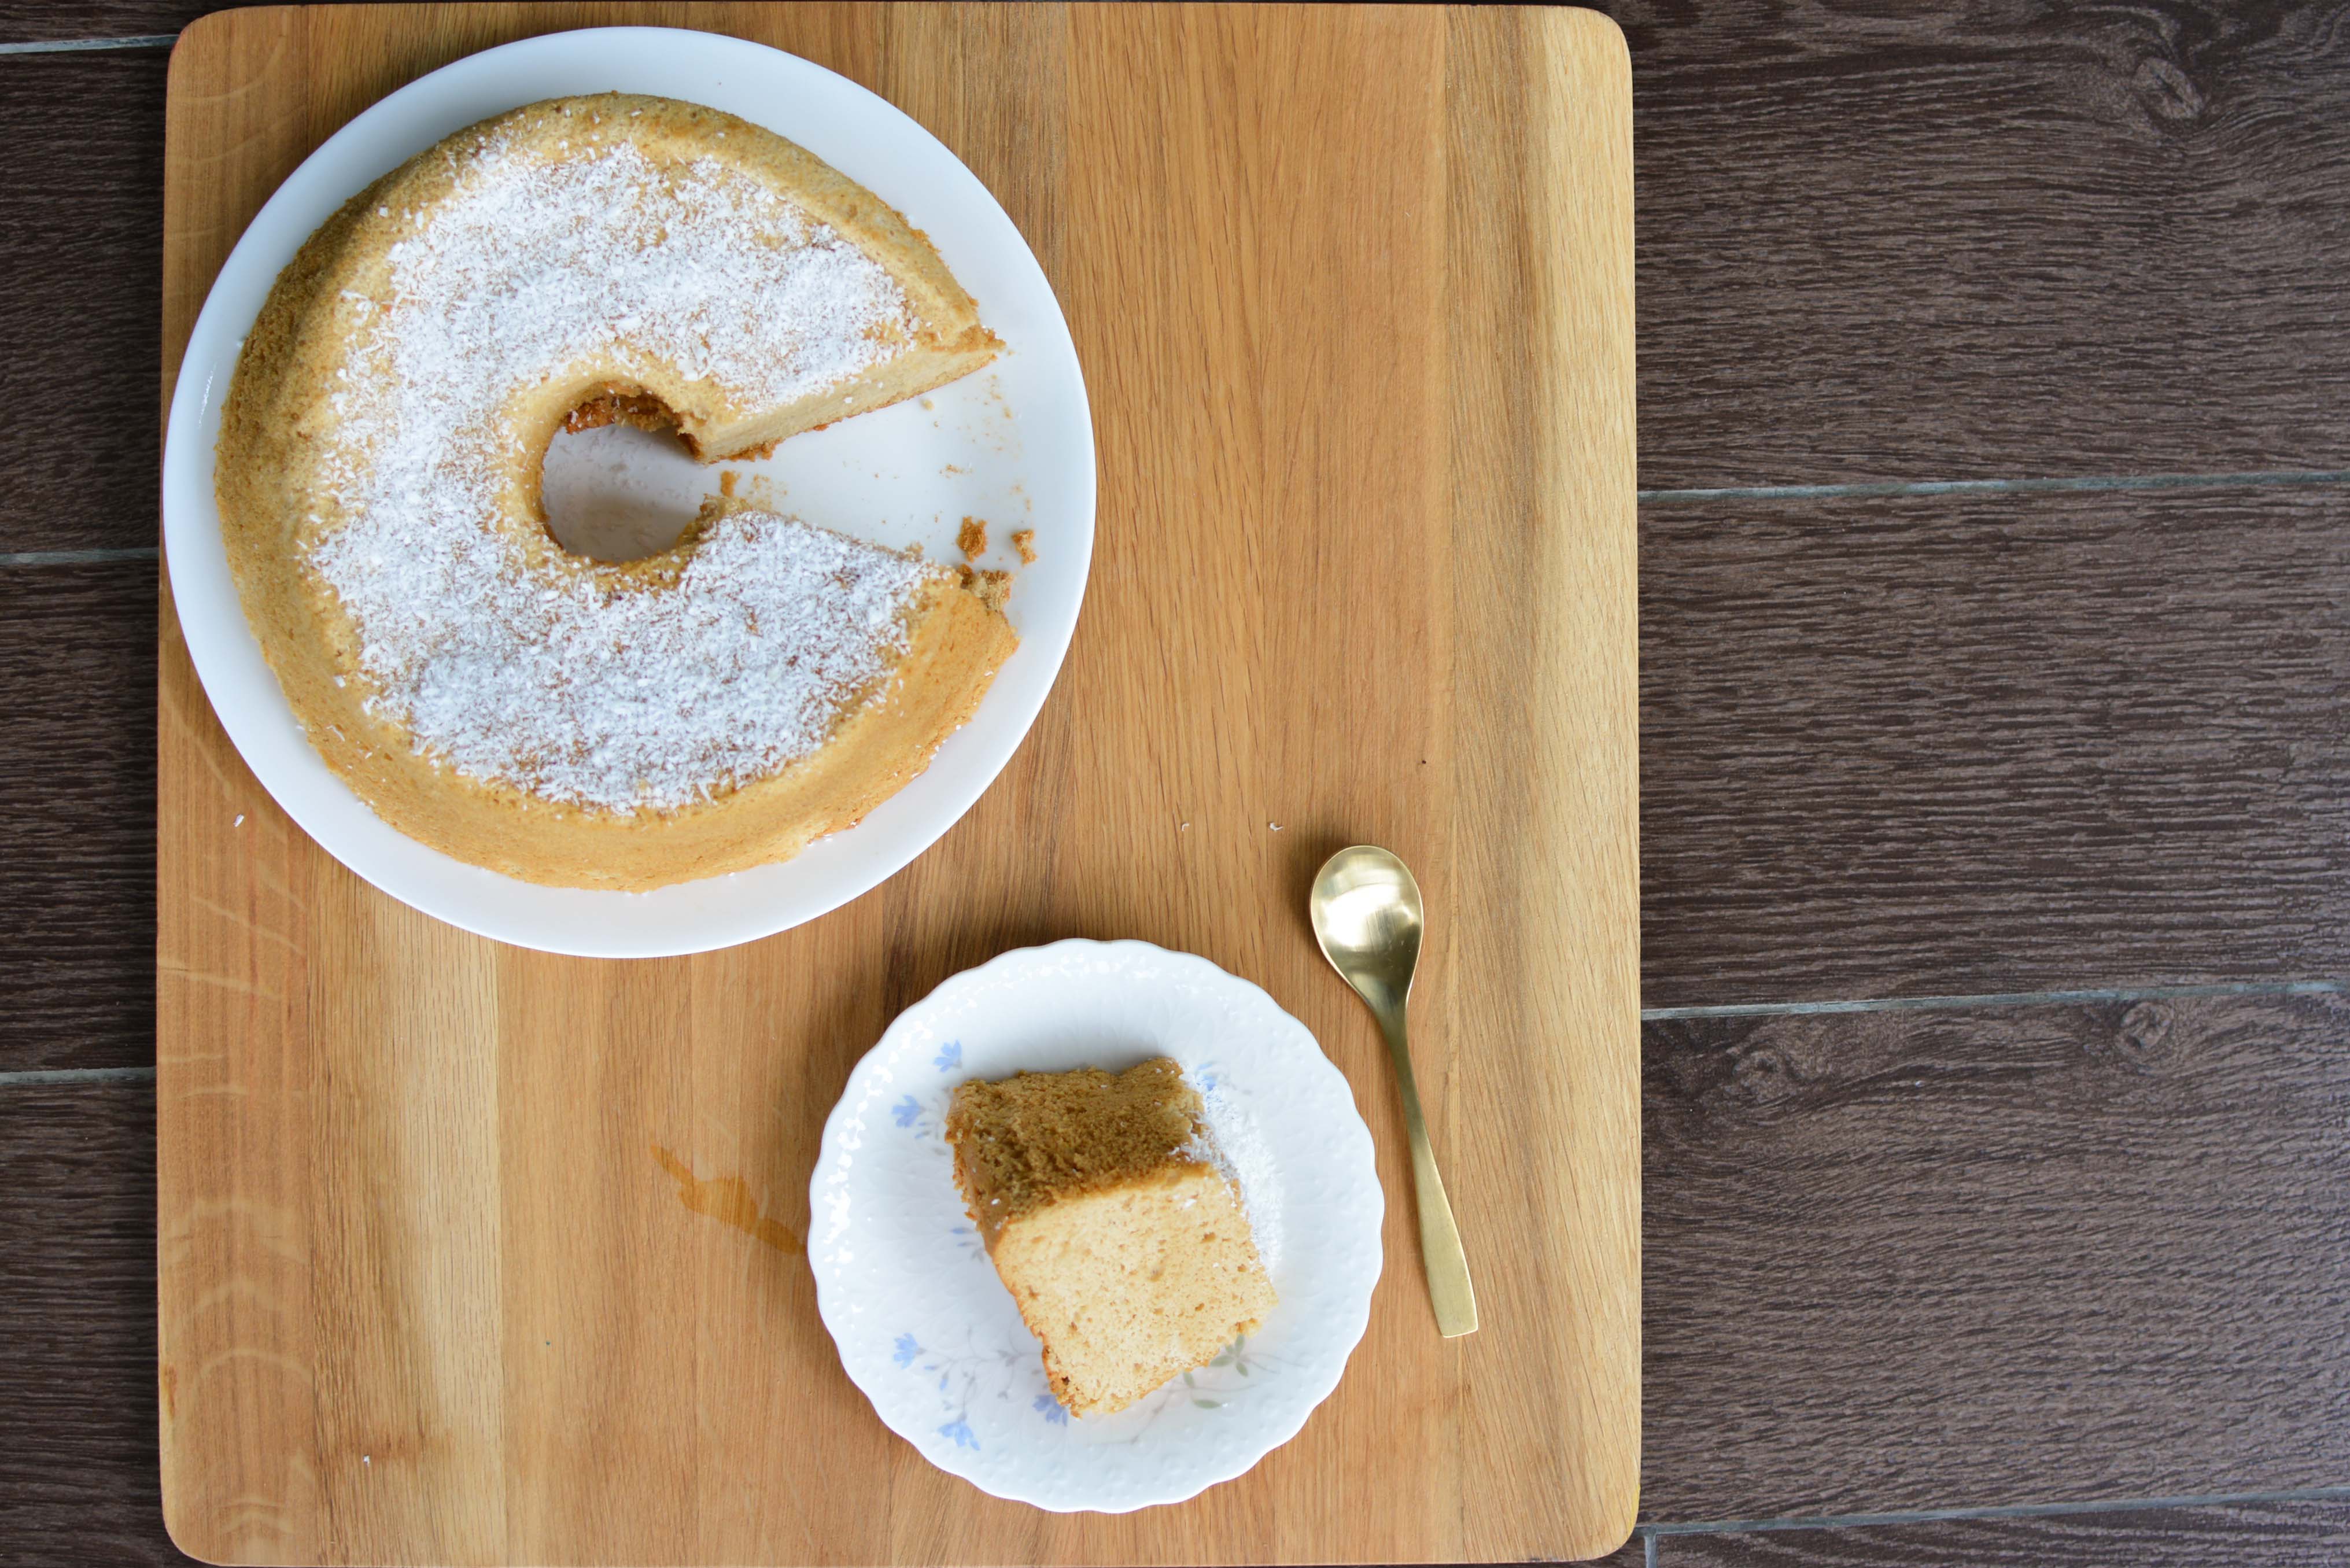
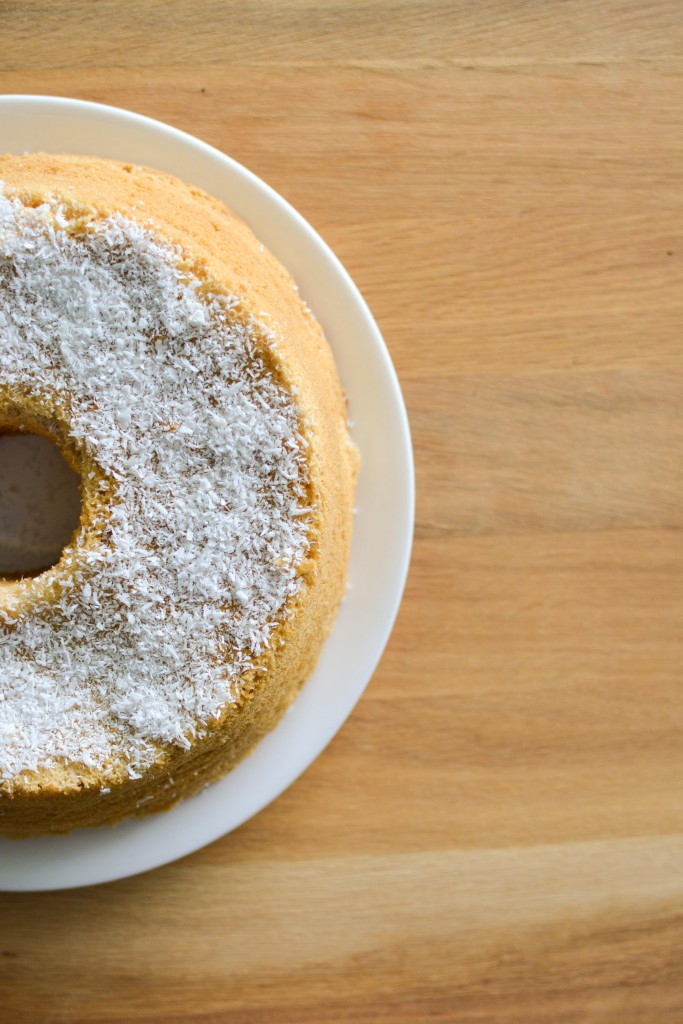
The gula melaka chiffon cake turned out really awesome! It was moist, the gula melaka fragrance was there (also in large part due to the quality of the gula) and the cake was light & airy enough. I was extremely pleased with the result & so were the rest of my family members.

DSC_0455

I sprinkled some desiccated coconut on top just for aesthetic purposes, although my mom indicated she did not like the extra crunch. So it’s really up to you whether you want to add it, or make a gula melaka sauce to drizzle on top. I personally find that it’s sweet enough & that’s not necessary.

In any case, the recipe is below, should you find some time to try it as well!

P.S. This is the first time I’m baking + editing the photos + writing the post all in the same day haha. That’s how excited I am after the super long hiatus.

DSC_0460

Gula Melaka Chiffon Cake
Adapted from Baking Tai Tai

8-inch chiffon pan (I used a 10-inch cos that’s all I have)

Ingredients:

A:

  • 6 egg yolks
  • 150g gula melaka (I chopped it up finely)
  • 100ml coconut milk (I used fresh coconut milk, although most recipes use those from supermarket)
  • 38g vegetable oil (I used sunflower oil)
  • 140g plain flour
  • 1/4 tsp baking powder
  • 1/4 tsp salt

B:

  • 6 egg whites
  • 30g caster sugar
  • 1/4 tsp cream of tartar

Directions:

Preheat oven to 160 degrees C.

A:

  1. Heat gula melaka and coconut milk in a saucepan on low heat, stirring gently, until everything the gula is melted
  2. In a separate bowl, sift the flour, baking powder & salt
  3. Place 6 yolks in a medium-large mixing bowl and use a hand whisk (the manual kind) to whisk until yolks are light (just gently)
  4. Add oil to yolks and mix until combined
  5. Add gula + coconut milk mixture into the yolk mixture
  6. Add flour in batches to yolk mixture until well combined
  7. Set aside

B:

  1. Place egg whites in a mixing bowl and whip until foamy
  2. Add cream of tartar and continue to whisk until soft peaks
  3. Gently pour caster sugar in and whisk till stiff peaks

Putting it together:

  1. Using a hand whisk, fold the egg white mixture (B) into yolk mixture (A), in 3 batches
  2. Ensure everything is well incorporated but do not mix too much (do not want to deflate it cos it’s a chiffon cake) and put into chiffon cake tin
  3. Bake for 45-55 minutes
  4. Remove from oven when skewer comes out clean & invert to cool

Well that’s all! I don’t think I’ll make any major changes to the cake in the future, but if I do, I’ll be sure to update it on this space! Hope you guys enjoy this gula melaka chiffon cake as much my family & I do!

DSC_0464

Thanks for reading folks 🙂

Love,

Eugenia

More